Before
- WebLogic Server Version 12.1.3.0.0
- oracle 节点1 192.168.1.1 1521 testdb1
- oracle 节点2 192.168.1.2 1521 testdb2
- service name testdb
- username name
- password pwd
Action
打开weblogic console,输入用户名,密码.登录
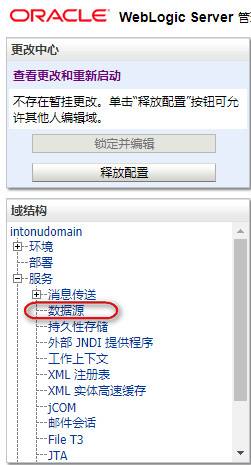
点击数据源
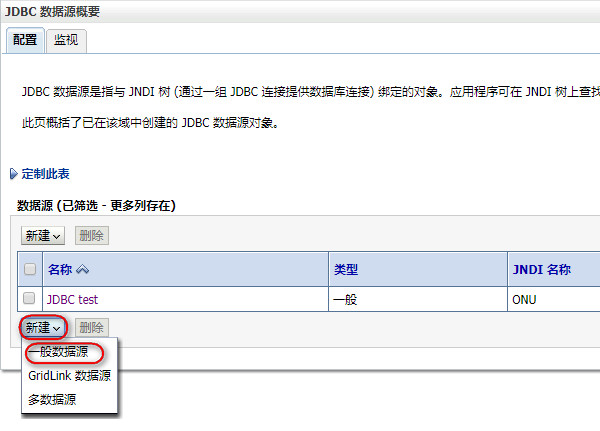
点击一般数据源
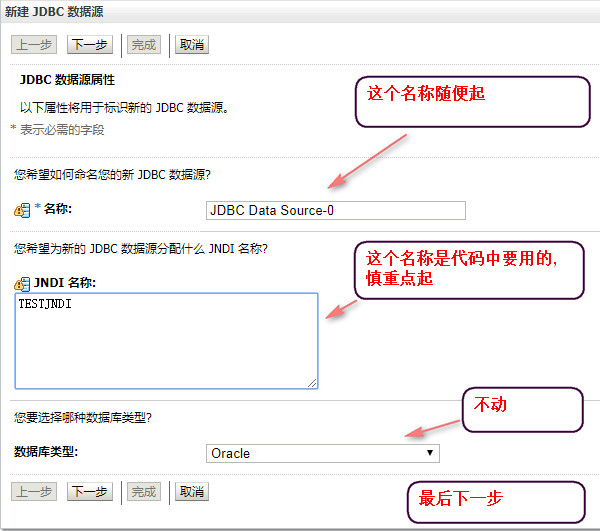
输入JNDI 名称
下一页
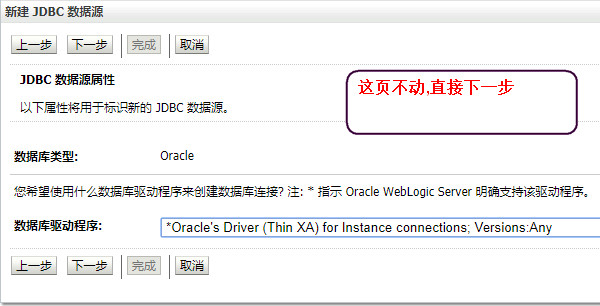
下一页

以节点1的连接配置进行测试
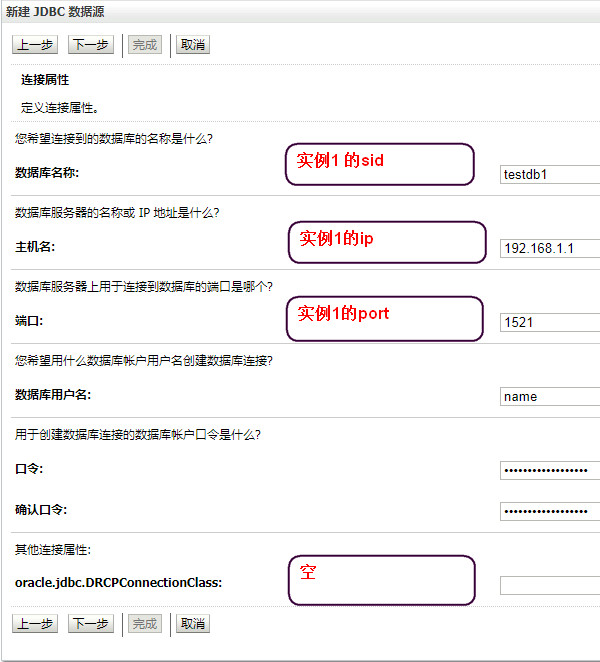
下一页
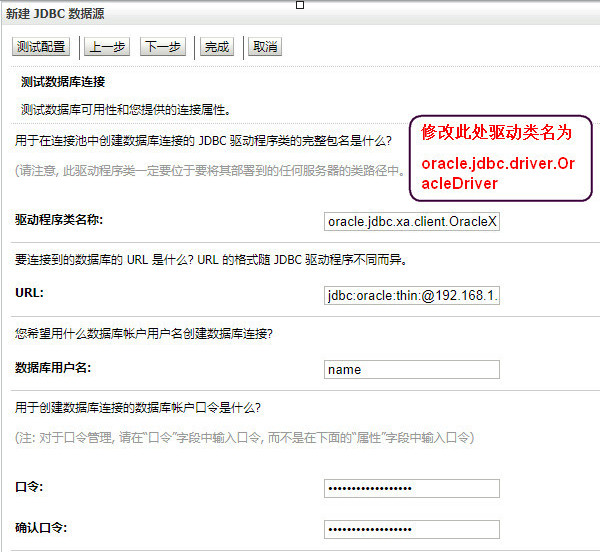
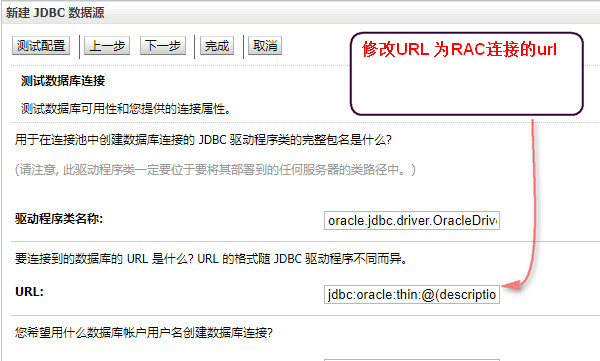
oracle.jdbc.driver.OracleDriver 复制使用
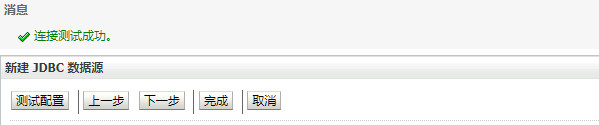
提示测试成功
修改URL 为生产使用的RAC URL
修改 每个实例的 ip port 以及集群的service_name

jdbc:oracle:thin:@(description=(address_list=
(address=(host=192.168.1.1)(protocol=tcp)(port=1521))
(address=(host=192.168.1.2)(protocol=tcp)(port=1521))
(load_balance=yes)(failover=yes))(connect_data=(service_name=testdb)))
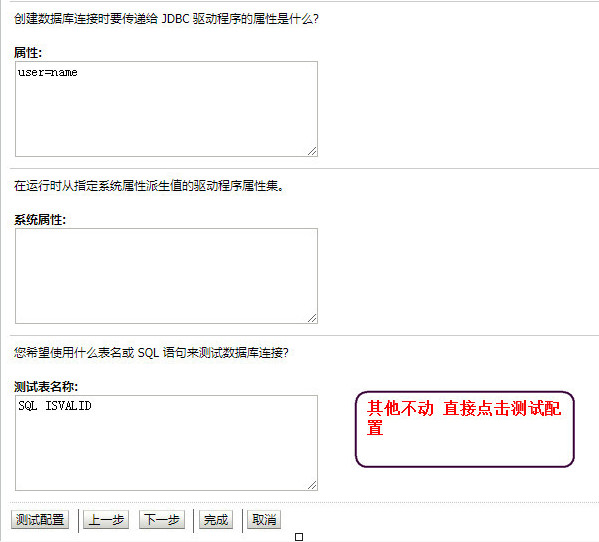
继续点击测试配置
选择服务器
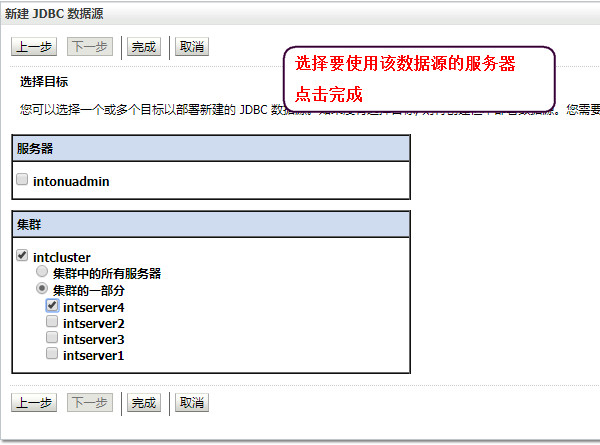
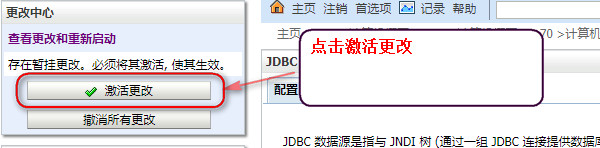
激活更改